
Current Location: Geneva, Switzerland
I was told by a friend that buying a home yogurt maker is “super bougie” but I honestly think it’s more nerdy than anything else. In any case, a couple of weeks ago I bought a yogurt maker, specifically the Betty Bossi Mini-Jogurtino, because it was on sale and it sounded like fun. Maybe it is a little bougie after all.
Yogurt is something that I love, but I try not to eat too much of because the environmental cost of dairy is fairly high. I really hate paying the ridiculously high literal cost of supermarket yogurt. I also don’t like regular yogurt, I mostly only eat Greek yogurt because I find the consistency of regular yogurt to be too thin. Regular yogurt is fairly inexpensive in Geneva, but Greek yogurt is very expensive and is only sold by one or two brands in small, single serve plastic containers that cost 2CHF.

My first attempt at making my own Greek yogurt in the Mini-Jogurtino was pretty disastrous. It smelled and looked awful. I think my main problem is that the recipe book that comes with the Mini-Jogurtino is in German and French. Yogurt making I assume is a pretty exact science, so the fact that I was reading the directions in French and then buying French-labelled ingredients in the supermarkets suggests that this was entirely user error. I then discovered that all yogurt makers are essentially the same, so I can look up recipes online in English in the future.


For my second attempt at making yogurt, I decided to try a coconut yogurt recipe. I love coconut milk products (see my recipe on boozy peaches with coconut ice cream). Although not the healthiest, it’s a delicious dairy-alternative. I adapted the following recipe from the blog Chocolate & Zucchini. I opted to use plain yogurt as my ferment and definitely did not use any beef gelatin.
- In a large bowl, whisk about 120 ml of the coconut milk with the ferment (120ml of plain yogurt). Pour in the remaining coconut milk (1200ml in total), whisking as you go.
- Divide the coconut milk mixture among the jars of the yogurt maker.
- Switch it on and leave to incubate for 24 hours (if your yogurt maker has an automatic shut-off feature, you’ll have to turn it back on).
- Allow to cool to room temperature without disturbing, then place in the fridge.
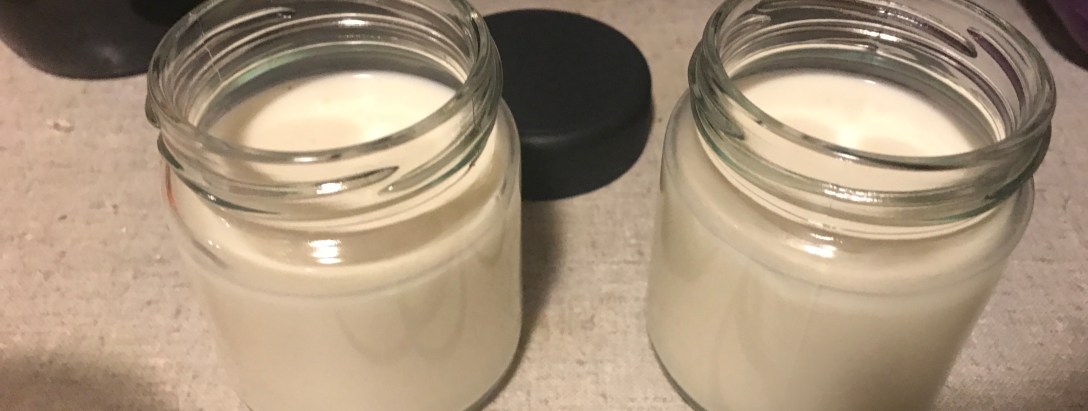
Overall, a pretty easy recipe. I have a very small yogurt maker so I shrunk the recipe, using two cans of coconut milk (800ml) and just 80ml of ferment. I poured the mixture into my jars and said a prayer. See the entire snapchat venture below:


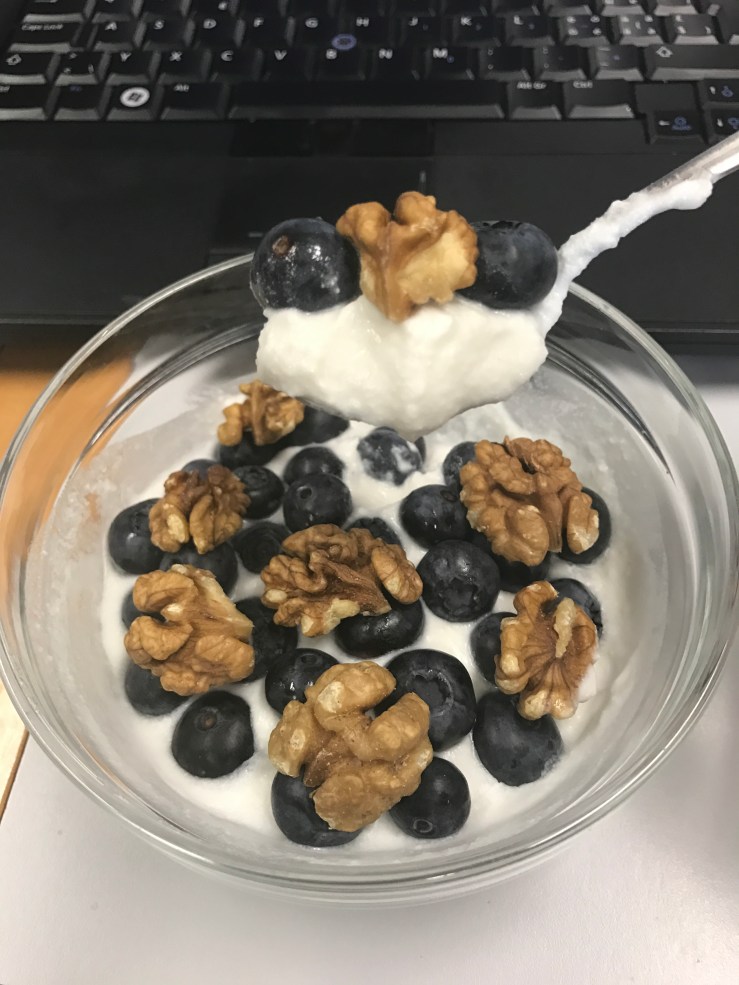
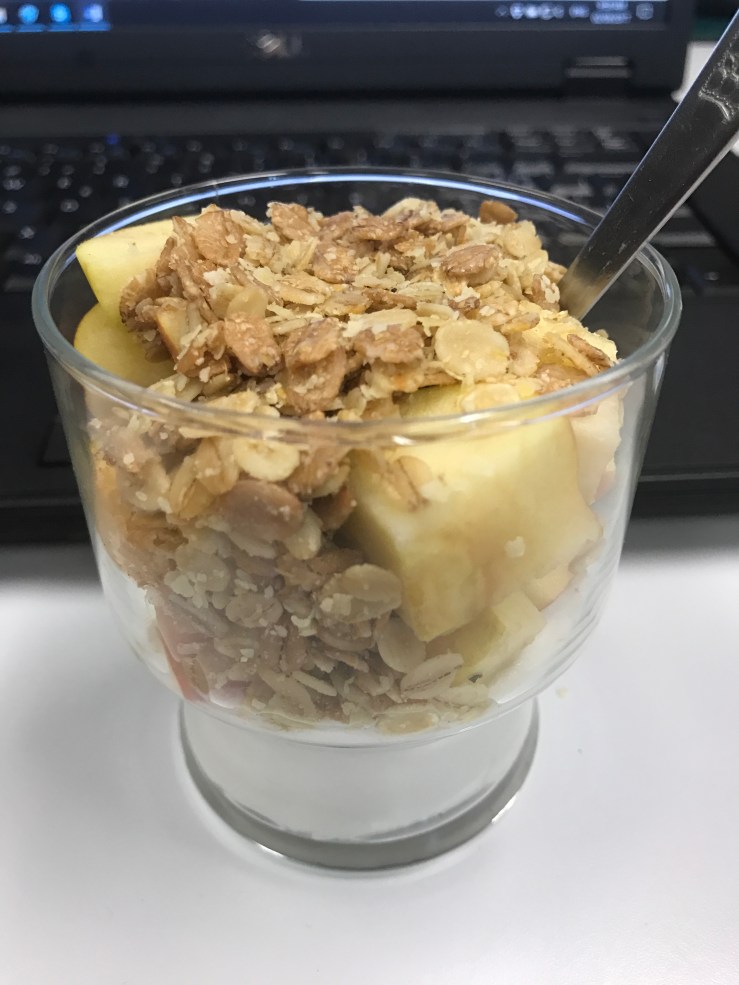
24 hours of incubation and 12 hours of refrigeration later, I had perfectly creamy, delicious, coconut yogurt! Even without any added sweetener it was still delicious. It tasted like real dairy yogurt, without the strong sourness, with a subtle coconut undertone. Yum! I tried it two ways and both were delicious.
PROS: super filling // healthy fats // low-dairy // delicious
CONS: some effort required // consistency slightly off // not a great source of protein

In the future I think I will add a slightly higher ratio of ferment to coconut milk to improve the texture but overall this is an excellent alternative if you’re looking to reduce dairy consumption or make a sweet and easy treat. Overall: will make again!
♲CV♲

Great job, Caroline, thanks for spreading the word on coconut yogurt!
Totally agree with you on the nerdiness of it. ^^
LikeLike